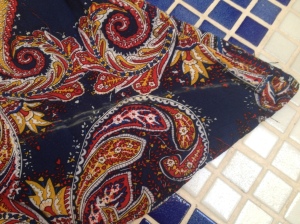
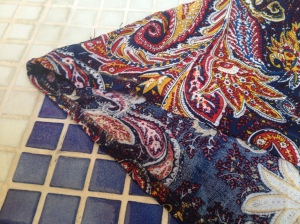
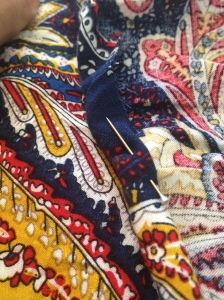
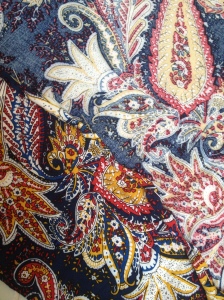
Upcycling oversized blouses.

We all have the shirts/blouses we love the design of, but they are just ill fitting and thus we never wear them. Today, I have gone through the blouses I own and realised that there is lots one can do.

Here are the problems I came across and how I transformed the item into something wearable and from this century!

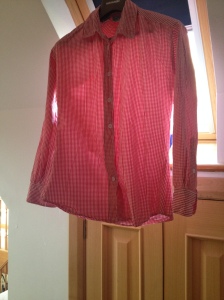
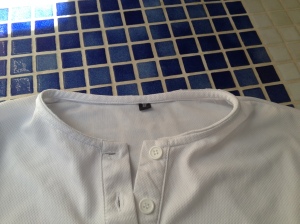
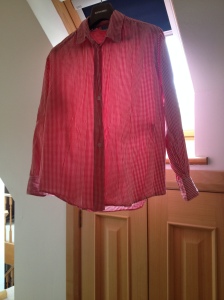
1) The 90s shirt (not fitted at the waist and way too baggy arms)
–  As you can see the shirt has absolutely no firm.
IMG_5559

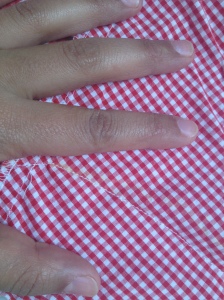
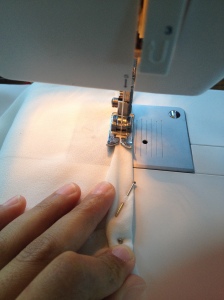
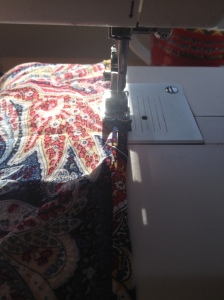
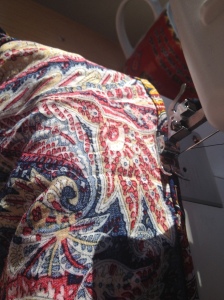
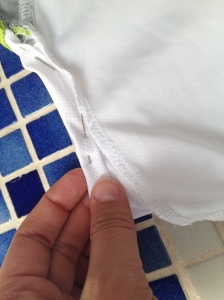
All I did was take in the seams in at the side, all along the waist and arms. IMG_5561  IMG_5562

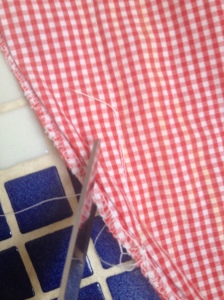
I then cut along the new seam I made.

IMG_5563

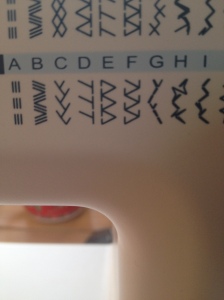
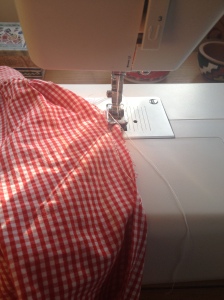
Then used an overlock stitch to stop the fraying. (I used the F overlock stitch)

IMG_5564 IMG_5565

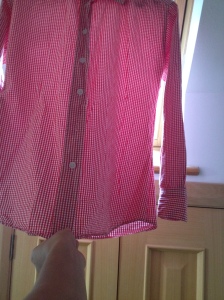
The final shirt should then look something like this. A classic design, that’ll never go out of fashion, now however uniquely fitted to my body shape.

IMG_5567 IMG_5569

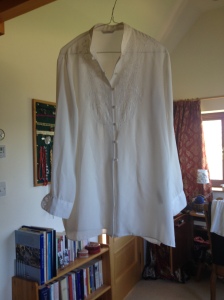
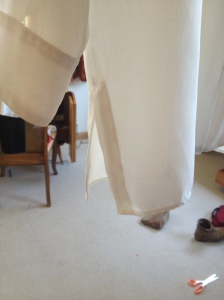
2) Awkward length blouse. (Too short for a dress, too long for a blouse with jeans)

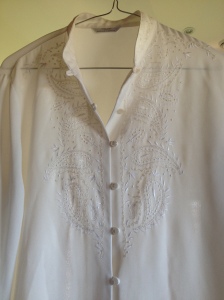
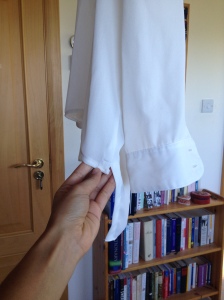
This is a beautiful blouse I found in a thrift store, I just haven’t worn it much, as its such an awkward length.

IMG_5570 IMG_5571

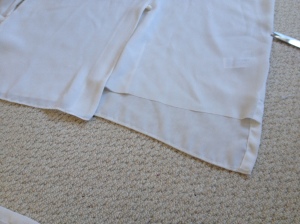
This blouse has a beautiful slit on the side, so I took advantage of that and decided to cut the front and leave the back as it is.

IMG_5572

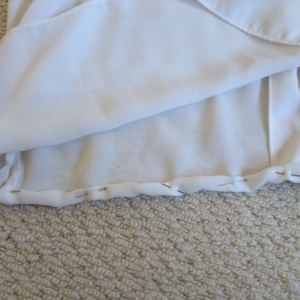
The first step was to cut the front to my ideal length, I then pinned it and sew along it with a straight stitch.

IMG_5575 IMG_5577 IMG_5579 IMG_5580

The final product will look something like this.

IMG_5584

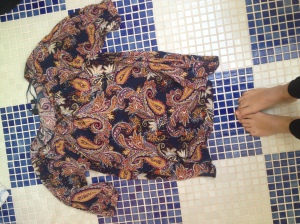
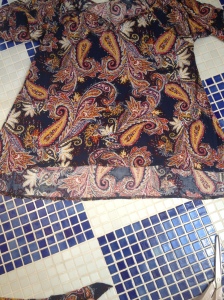
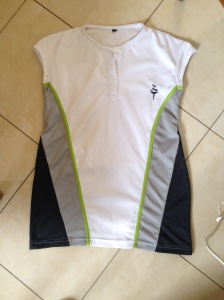
I did something similar with another blouse, this time however used a rounded cut.

IMG_5641

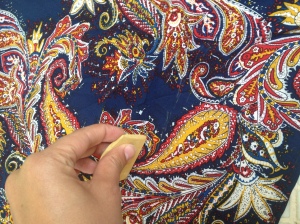
I used chalk to mark out where I wanted the hem to be.

IMG_5643 IMG_5644

After I cut it, I pinned it and sewed it with a straight stitch

IMG_5646  IMG_5648 IMG_5649 IMG_5650 IMG_5651

This is what the end product should look like.

IMG_5652

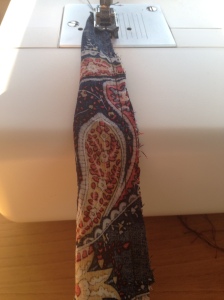
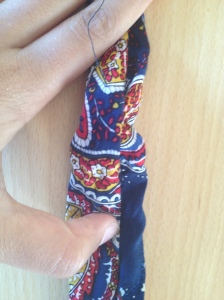
With the extra strip of material, I decided to make a hairband or you can keep it and use it for another DIY project.

IMG_5656 IMG_5659

FABRIC GUIDE

Now we all know that some fabrics are more expensive than others, the difference in price is usually down to production cost and synthetically produced materials are normally a lot cheaper than fabric made out of natural occurring material. In my experience fabric out of natural fibers last longer and are much kinder to the skin as they let your skin breathe, which means less sweating ! When I go charity shopping, the two most important factors I consider before buying an item is:
1) Does this pattern/colour really suit me and what do I plan on making out of it that would complement my current wardrobe
2) What material is it made out of, this will determine, not only the longevity of the item but also what stitches I need to use when sewing it etc.

Heres a short guide to the most materials I sew with. I am sure I will be continuously editing this list and am thankful for any suggestions or knowledge you’d like to add.

NATURAL FIBERS

Natural fabrics are those which are created from the fibers of animals coats, the cocoons of silkworms, and plants seeds, leaves and stems. Its breathable, soft on the skin and durable. It also does not change color from UV light. I would always pick a natural fabric over a synthetic one.

Cotton:

Cotton is a naturally occurring fiber, which means that it is breathable and usually stretchy. You have different types of cotton such as lightweight or heavyweight, so anything from corduroys and jeans to t-shirts are made out of cotton. This material is often mixed with synthetic fibers to produce polyester for example. It is a staple but with time, it can loose its shape and your tshirt will be ill fitting. The good thing is however, that there is lots of it and it is relatively cheap to come by. Usually the higher the cotton content on an item, the more it’ll let you breathe.

Silk:
Silk is produced by insects for their cocoons and is one of the strongest natural fibers. It has a smooth, soft texture compared to other synthetic materials that imitate silk such as polyester. It is very lightweight, but keeps you warm and lets your skin breathe. Silk is rather expensive, but you can usually always find it in second hand shops in quite good shape!

Rayon: 
Rayon is made from cellulose (so essentially wood) but due to the synthetic process it undergoes is considered a semi-synthetic material. There are different types of rayon such as modal, viscose and lyocell. I generally find rayon soft and breathable on my skin.

Linen: 
Linen is fiber from a plant. Its costly to manufacture but the fiber is very absorbent and are known for their exceptional coolness and freshness in hot weather. At first Linen is quite a stiff fabric, but the more you wash it, the softer it gets. They crease easily but are strong and resistant fabrics.

Chiffon:
Chiffon is made from either cotton, silk or synthetic fibers. The structure resembles a mesh or net and gives it, its see through property. It is lightweight, comfortable but if made out of synthetic fibers will make you sweat. It is also very hard to sew, because its hard to grip, but if you put paper in between the material, it’ll be a lot easier.

SYNTHETIC MATERIAL

Synthetic or man-made fabrics are made from fibers which are either completely made from inorganic materials or organic materials combined with chemicals.  Some are lightweight while others are heavy and durable fast. They usually imitate other natural fabrics but aren’t quite as luxurious. They are however often cheaper to produce than the natural material.

Lycra (also known as Spandex or Elastane):
This is a super stretchy and durable material. Completely synthetically produced and ideal for sports. It is usually mixed with cotton and is what makes material stretchy.

Polyester:
This is one of the most commonly found materials and is synthetically produced. I am not a big fan of polyester because it doesn’t let your skin breathe, which means you end up sweating a lot. It is lightweight and dries quickly and has the benefit of not needing to iron it. In my experience however, it isn’t very durable.

Acrylic:
Acrylic fabrics are usually shiny and lightweight. They don’t loose their glaze and are resistant. The material, like Polyester is not breathable, which is why I find it uncomfortable to wear.

For more information, visit this really informative website!
http://www.textileschool.com/articles/330/type-of-fabrics
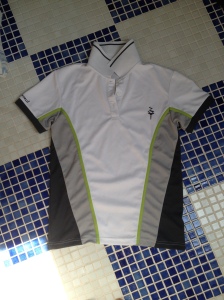
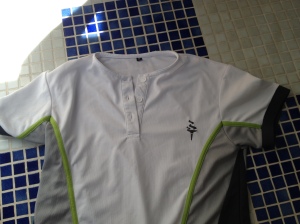
Noughties sports t-shirt into trendy running top in 3 easy steps

I have had this t-shirt sitting in my box of things I don’t have the heart to throw away for years. The material is great, breathable synthetic that is ideal for working out. I however never wore it, because it was ill fitting and the collar really bothered me when working out. Within the shortest amount of time (literally this takes less than an hour) I was able to turn it into something fashionable that I now enjoy going jogging in.

Time: less than an hour (more like half an hour!)
Difficulty: Easy
Materials needed:
old Tshirt with collar
Sewing machine
Scissors

Before:                                           After:

IMG_5532    IMG_5640,

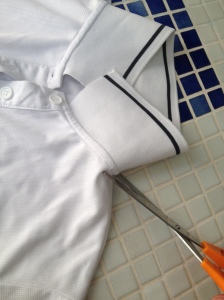
First Cut off the collar, so that you end up with a crew neck Tshirt.

IMG_5535    IMG_5537

It should then look something like this:

IMG_5538

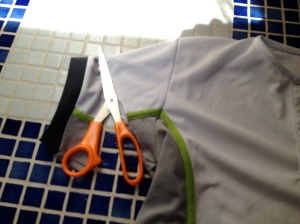
Then cut off the arms, you can either cut them off completely or just a bit, so that you have short Tshirt arms, depending on what suits you best. I opted to keep short Tshirt arms, as they suit my bodyshape more.

IMG_5539

I then pinned the edges and sewed it with the sewing machine. I recommend using a zig zag stitch or an overlook stitch as the material is stretchy and you want to keep it that way.

IMG_5543 IMG_5544

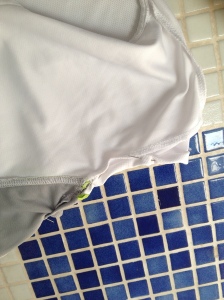
Finally I took in the sides a little to make it tight fitting and voila, your ready for your workout!

Pyjama Bottoms out of old 90s dress

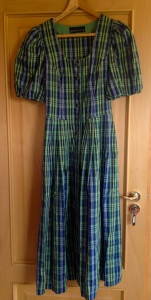
After a thorough spring clean, I realised I was short on pyjama bottoms. Is it just me or does one always have an endless supply of old T-shirts and next to no bottoms? This needed to change and I remembered a valuable piece I had picked up from my aunts wardrobe that would be perfect for this project.

Time: 3 hours
Difficulty: moderate
Materials needed:
old dress (ideally out of lightweight cotton or polycotton mix)
Sewing machine
elastic band (width around 2 cm)
scissors

IMG_5425

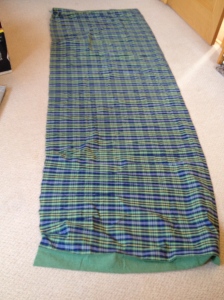
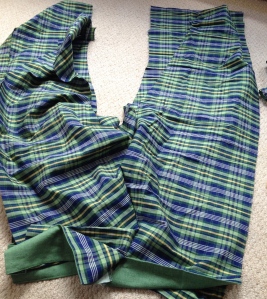
I opened the dress and spread it out on the floor. Then separated the skirt from the top.

IMG_5433

Separated the buttons from the dress…

IMG_5435

This is what the material should then look like

IMG_5438

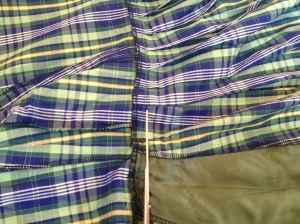
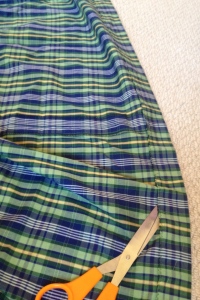
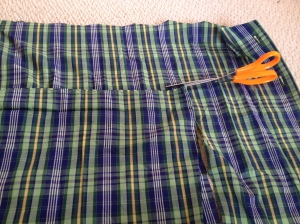
I then cut open the seam at the bottom (to maximise the amount of material I have)

IMG_5427

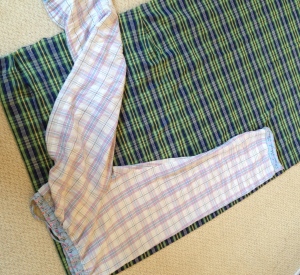
I used an old pair of pj’s to use as a guide and cut two front legs and two back legs. Remember that the pattern isn’t necessarily printed on both sides so you need to ensure that the print is always on the outside. Make sure that the 4 parts fit together. right front leg with right back leg and left front leg with left back leg. (I suggest writing on each piece what it is)

IMG_5439

Then used the legs I had already cut to cut the next ones.

IMG_5440

I then sewed the two front legs together and the two back legs. It should then look something like this.

IMG_5442

I then continued to sew the inside legs and the outside. I used a double stich, to make it extra secure.

IMG_5446

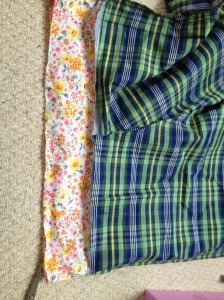
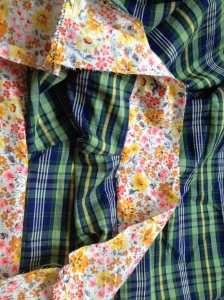
I then thought it would be nice to have a different waistband, add a bit of a floral design. So I rummaged through my box of leftover material and found this. After attaching it, it should look like this. You then have to fold it and sew it on the trousers so there is a tunnel where the elastic can be pulled through. Ensure that the tunnel is big enough for the elastic.

IMG_5447

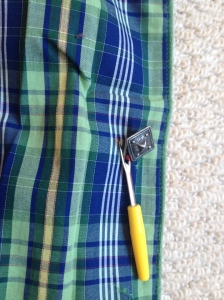
Then I pulled the elastic through with a safety needle. Sewed the ends together and then made all the finishing touches (hemmed the bottom legs and used the overlock stitch to stop the edges fraying)

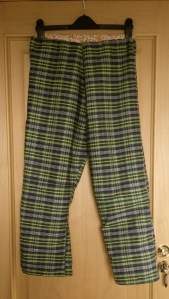
The final product should look something like this. I like my pj bottoms a bit baggy but if you want to tighten them, just take in the inside leg and voila, your done ! If you have any questions just let me know, I’m happy to help !

IMG_5468

Hello world!

Growing up in the countryside, I’ve taken an interest in anything and everything you can do yourself. As student, this interest grew into a  passion as I not only realized how satisfying it is to update that old 70s shirt from your mum and make it into a fashion statement but also make your own beauty products or generally things needed in a household.  The process is so relaxing and fulfilling and the bonus is that you can save tons of money!

I’ve started this blog to share some of my favorite tips and tricks and hope to awaken the creative side in you. I’m always happy to hear feedback, but as I am new to the blogging world, be gentle ;